Amazon Lightsail is a powerful, fully managed virtual private server (VPS). With an intuitive Management Console preconfigured with Linux and Windows Application Stacks, Amazon Lightsail is designed to be the easiest way to launch and manage a web server using AWS. Amazon Lightsail user plans include everything you need to jumpstart your project: Amazon Virtual Private Cloud (VPC), virtual machine, SSD-based storage, data transfer, DNS management, and a static IP address … for secure solutions, easily managed clusters, and high scalability.
Not a cloud expert? No problem. Amazon Lightsail is perfect for those who want a simple and fast way to start with AWS: developers, startups, students, and other users who want to host their applications on the cloud.
As a fully managed service, Amazon Lightsail automatically performs common maintenance tasks, like patching the underlying database infrastructure and operating system and upgrading databases between minor versions. DevOps teams and developers who are short on time or the expertise to quickly set up an intricate network, infrastructure, or compute resources choose Amazon Lightsail to save time, save money, and eliminate worry, at a low, predictable monthly price.
We recently worked with a client whose main solution requirements included the ability to easily create a scalable WordPress website. The solution was presented to a remote DevOps team that was not familiar with AWS. Therefore, the solution required a simple, fast, and easy setup. Amazon Lightsail became their fast path, a knight in shining armor.
This blog provides a step-by-step tutorial on how to launch a WordPress website with a few clicks using Amazon Lightsail instances.
Step 1. Sign up for AWS, or sign in to AWS if you already have an account.
Step 2. Create a WordPress instance:
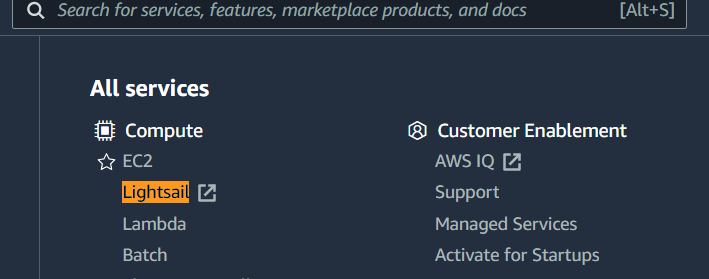
a) Search for Lightsail service in the search bar and open it.
b) On the Lightsail home page, go to the Instance tab and click on the “Create Instance” button.

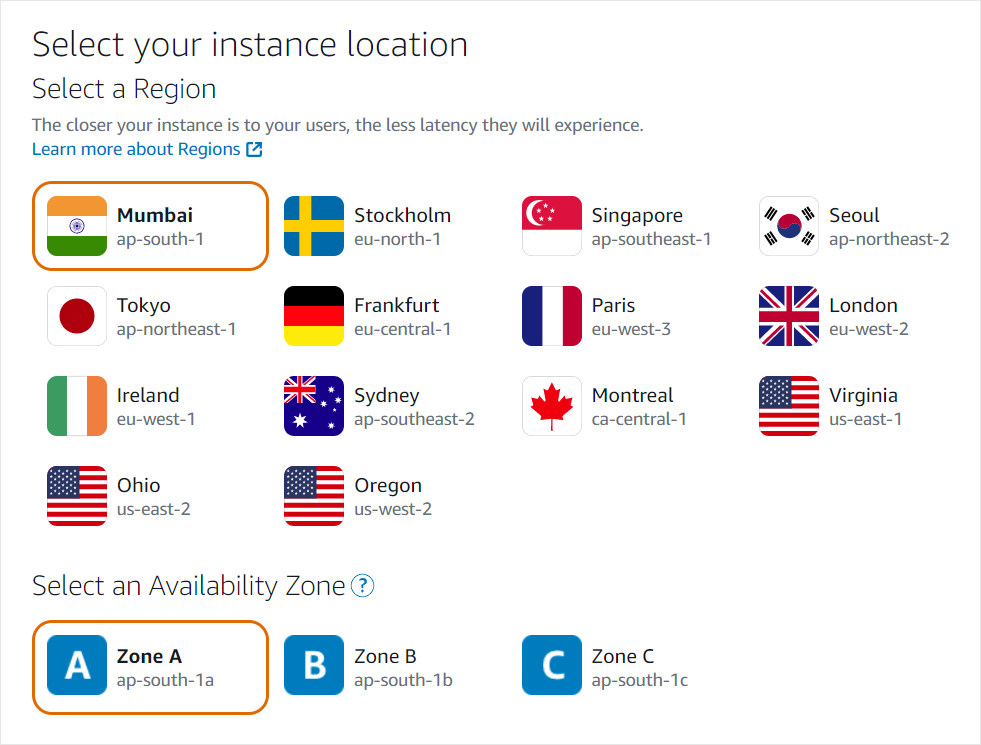
c) Select your instance location (AWS Region and Availability Zone), whichever is close to your targeted traffic.
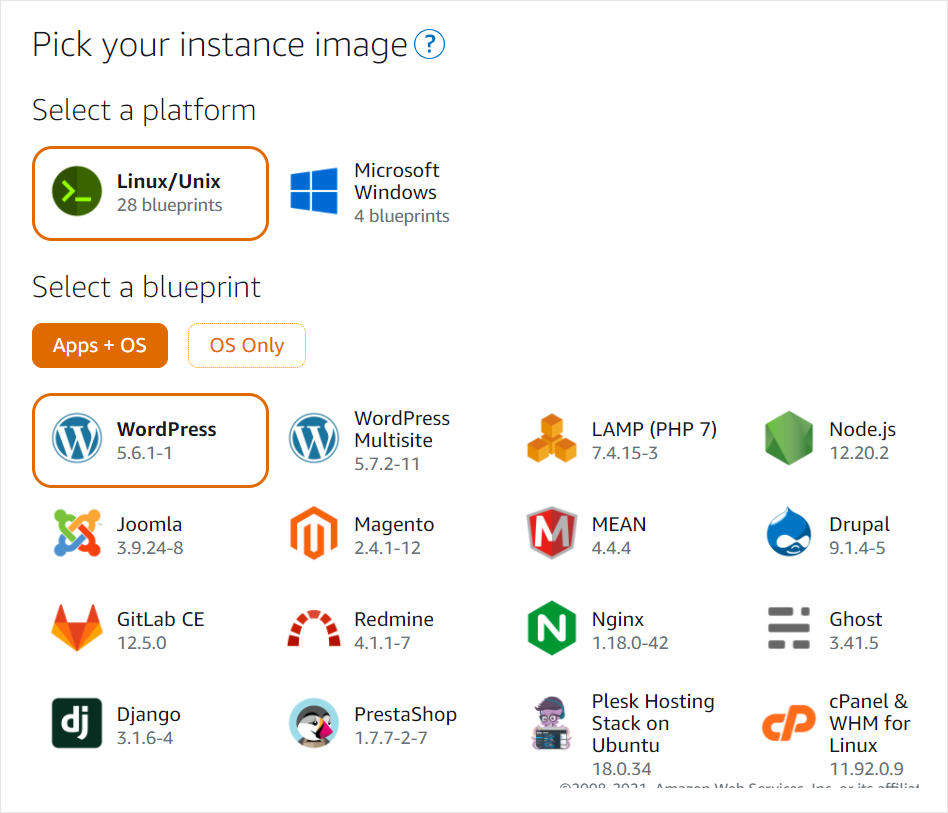
d) Select your instance image:
- Select Linux/Unix as the platform.
- Select WordPress as the application.
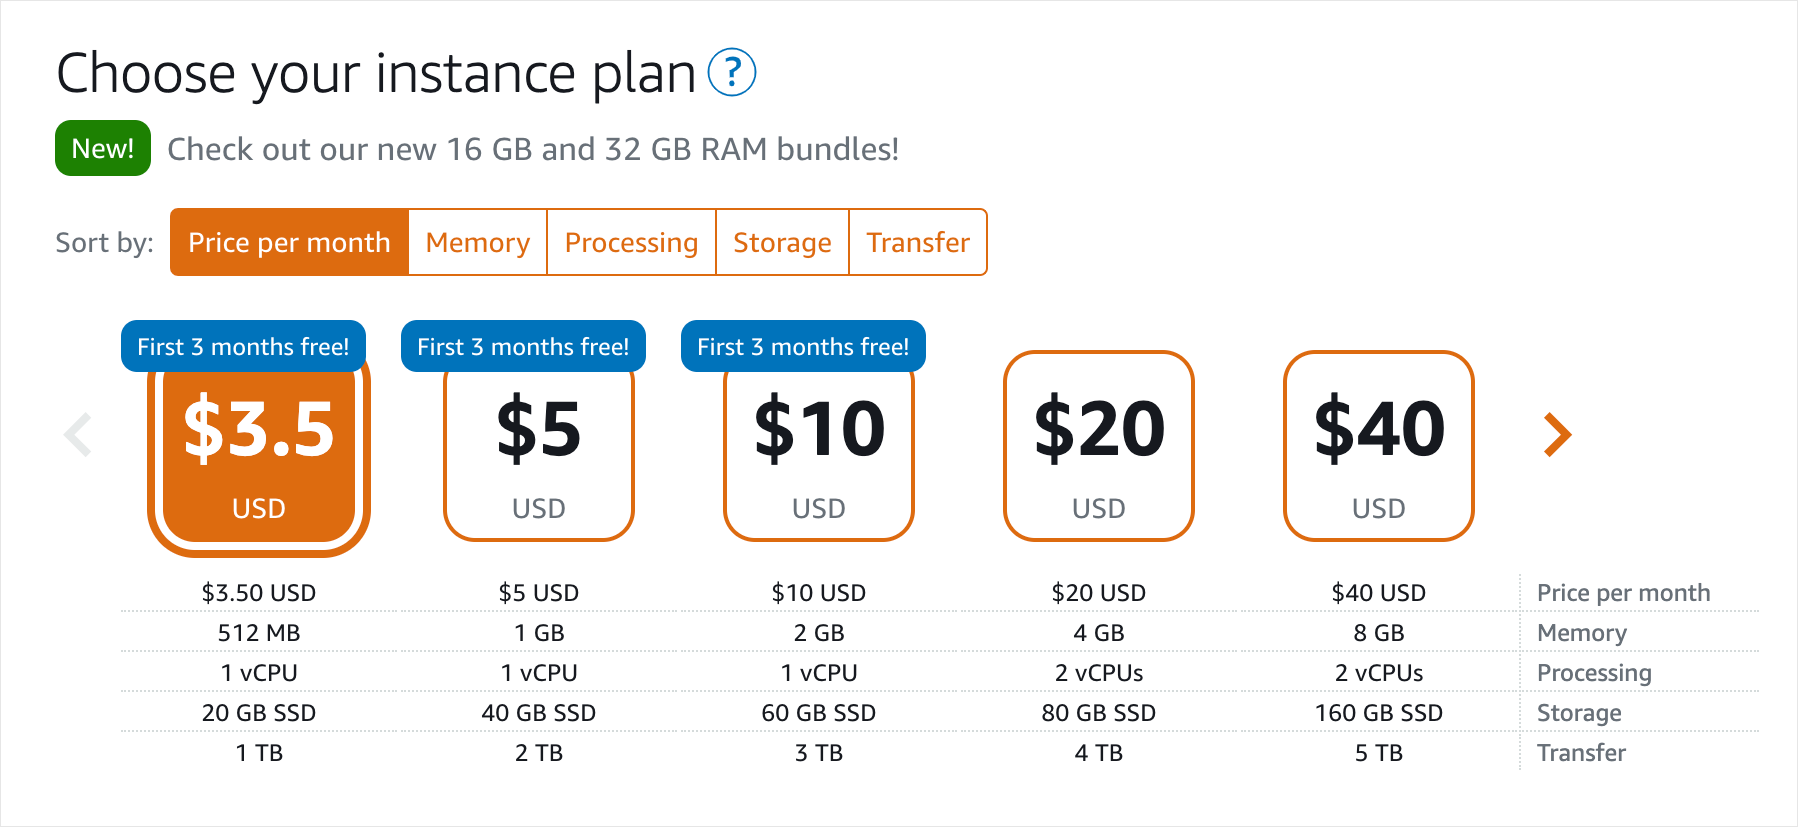
e) Select your instance plan:
- Choose your instance plan according to your website and traffic.
- Amazon Lightsail instance plans include predictable cost, machine configuration like vCPU, RAM, SSD, and a data transfer allowance.
- Also, you can use Amazon Lightsail free for three months.
f) Enter a name for your instance and the number of instances you want to launch. The instance name:
- Must be unique within each AWS Region in your Lightsail account.
- Can contain 2 to 255 characters.
- Can include alphanumeric characters, numbers, periods, dashes, and underscores.
g) Click on the “Create instance” button. The instance will take time to launch. Please wait for a few minutes.
h) You can access the default WordPress website page using public IPv4: https://PublicIPv4Address/
i) Replace “PublicIPv4Address” with the public IP address of your WordPress instance. You will get the Public IPv4 Address from the Lightsail console.
Step 3. Connect to your instance via Secure Shell.
a) Now, access the “Demo_Instance_1” instance via ssh. Click on the ssh quick-connect icon, which is in the top right corner of your instance (orange color icon) as shown below:

b) Once you click on the ssh quick-connect icon, it will launch the instance shell in a new window.
Step 4. Get the password for the WordPress website. Execute the following command to retrieve the default WordPress password:
cat $HOME/bitnami_application_passwordStep 5. Sign in to the WordPress website administration dashboard.
a) In a browser window, go to https://PublicIPv4Address/wp-admin. Replace “PublicIPv4Address” with the public IPv4 address of your WordPress instance. You will get the Public IPv4 address from the Lightsail console.
b) Enter “user” as the “Username.”
c) In the “Password” field, enter the password which you retrieved earlier through the command and click the “Log In” button. Now, you are signed in to the WordPress administrator dashboard and can perform admin actions, install the theme, etc.
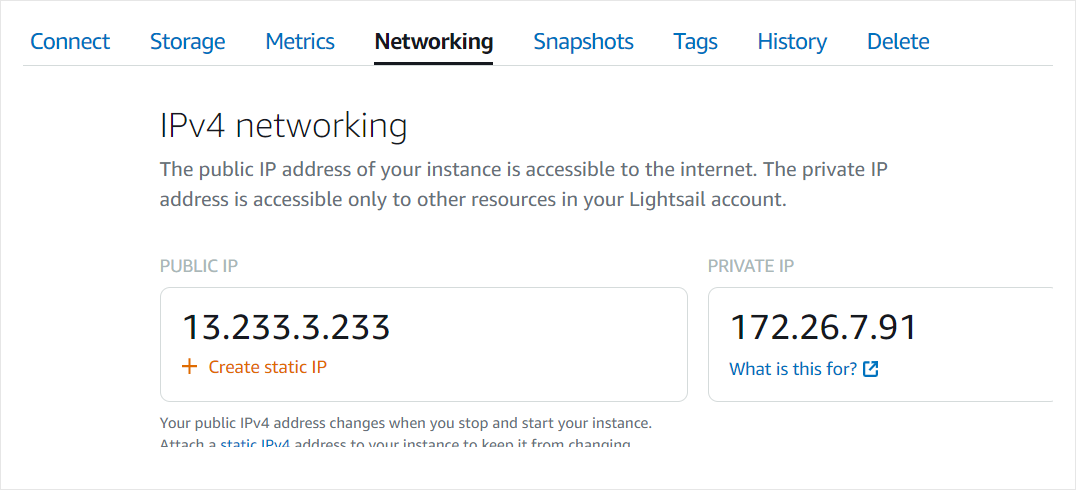
Step 6. Create a static IP address and attach it to the Lightsail instance. AWS provides the default public IP for your WordPress instance. It will change if you stop and start your instance, so we will create a static IP address and attach it to the Lightsail instance.
a) Click on your “Demo_Instance_1” instance.

b) Now, go to the Networking tab and click on the “Create Static IP” button.
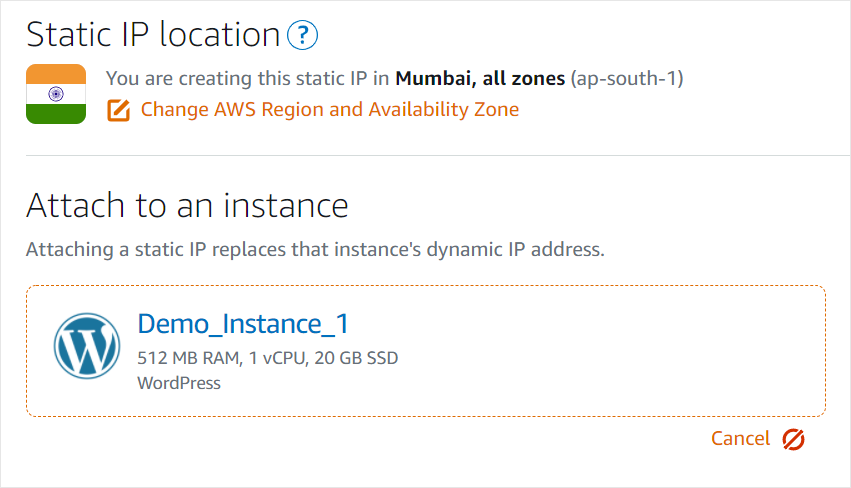
c) Select the Static IP location and attach it to your instance.
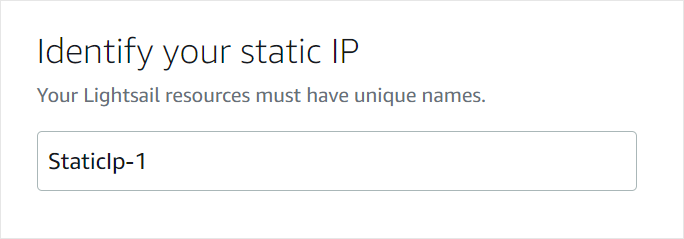
d) Name your static IP and click on the “Create” button.
e) Now, you have static IP which will not change. Go to https://Static-IPv4-Address/. Replace “Static-IPv4-Address” with the static IP address of your WordPress instance.
You’re now ready to start configuring and building your new WordPress site.
Need help with DevOps or modern operations on AWS? The nClouds team is here to help with that and all your AWS infrastructure requirements. We love tackling new requirements.