Migrating a database is a typical task for many DevOps engineers and one we do frequently for our clients. Amazon has this great, aptly named service called AWS Database Migration Service (DMS) https://aws.amazon.com/dms/ that we use to migrate databases like Oracle, MySQL, or SQL Server from one server to another.
But there are databases that are not supported by DMS currently, like the popular MongoDB, and we are always looking for the most efficient ways to migrate these databases.
Our client had a Mongo replica set that consists of one master and two replicas, and the database was about 350 GB. We proposed migrating it because they had all their environments in just one VPC and all the instances on the replica set were public. So we separated their environments into individual VPCs and hid the new replica set on private subnets.
Speaking about MongoDB, we have mainly two ways to restore the data from a database. The first is doing a mongodump and mongorestore, which is fine, but only if the database is small, like less than 75 GB. Larger than that, doing a mongodump can take too long and will reduce considerably the performance of the database. The other way to do the migration is copying directly the data files of the database into the new database, and that is the process that we did.
Here are the steps to migrate a MongoDB replica set.

The above image shows how the replica set was configured. It’s important to note that the client had all the data of MongoDB in a separated EBS volume mounted on /data.
We used to our advantage that we have two slaves, so we will select one to copy the files. Even if it will be inaccessible for a few minutes, the replica set will continue working, as expected.
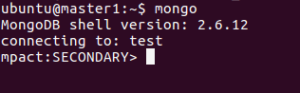
Step 1.
Get logged in a secondary member of the replica set.
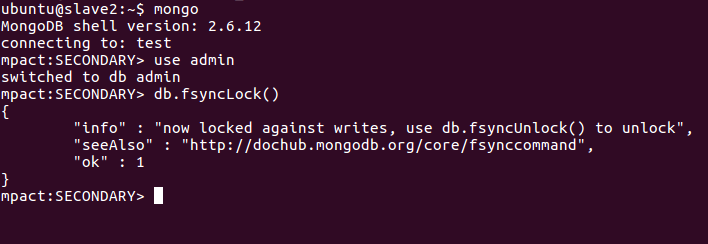
Step 2.
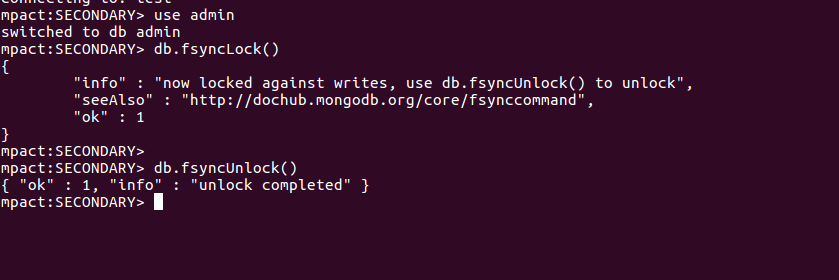
Launch these commands, to block write operations on the database.
Use admin

db.fsyncLock()
Step 3.
Create a snapshot.
On Amazon, go to EC2 -> search your replica instance -> in volumes section search the volume where the data resides.
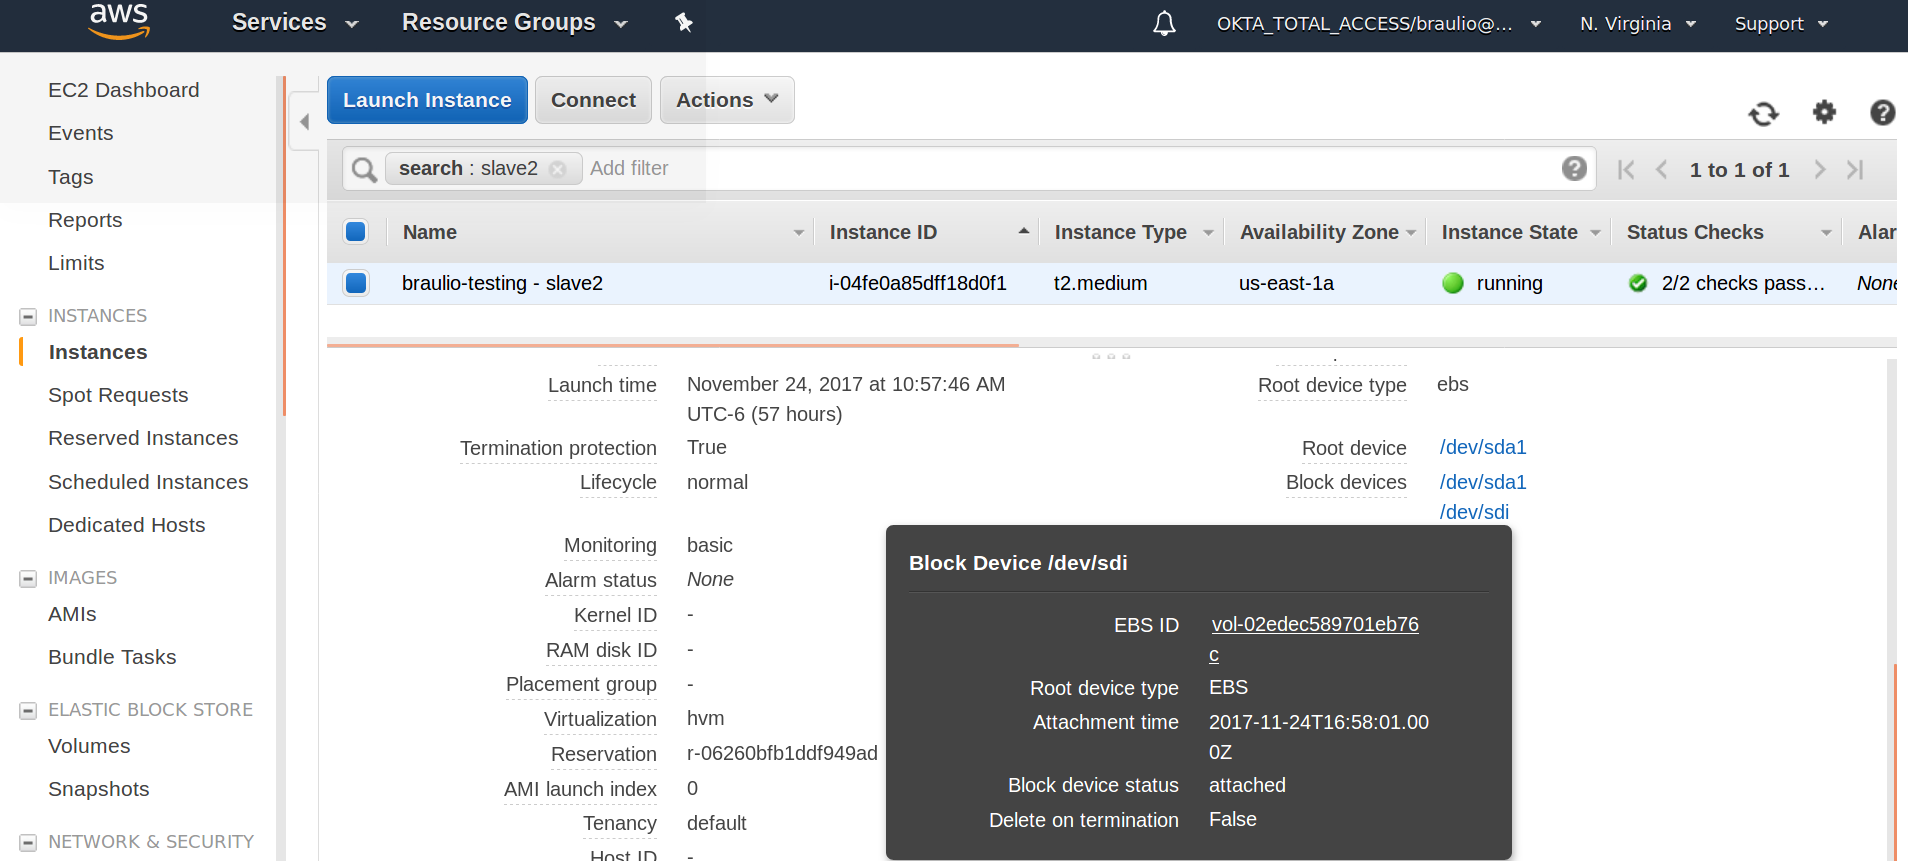
Click on the volume, and you will be redirected to the Volumes section, with the volume that you have selected.
Select Create Snapshot.
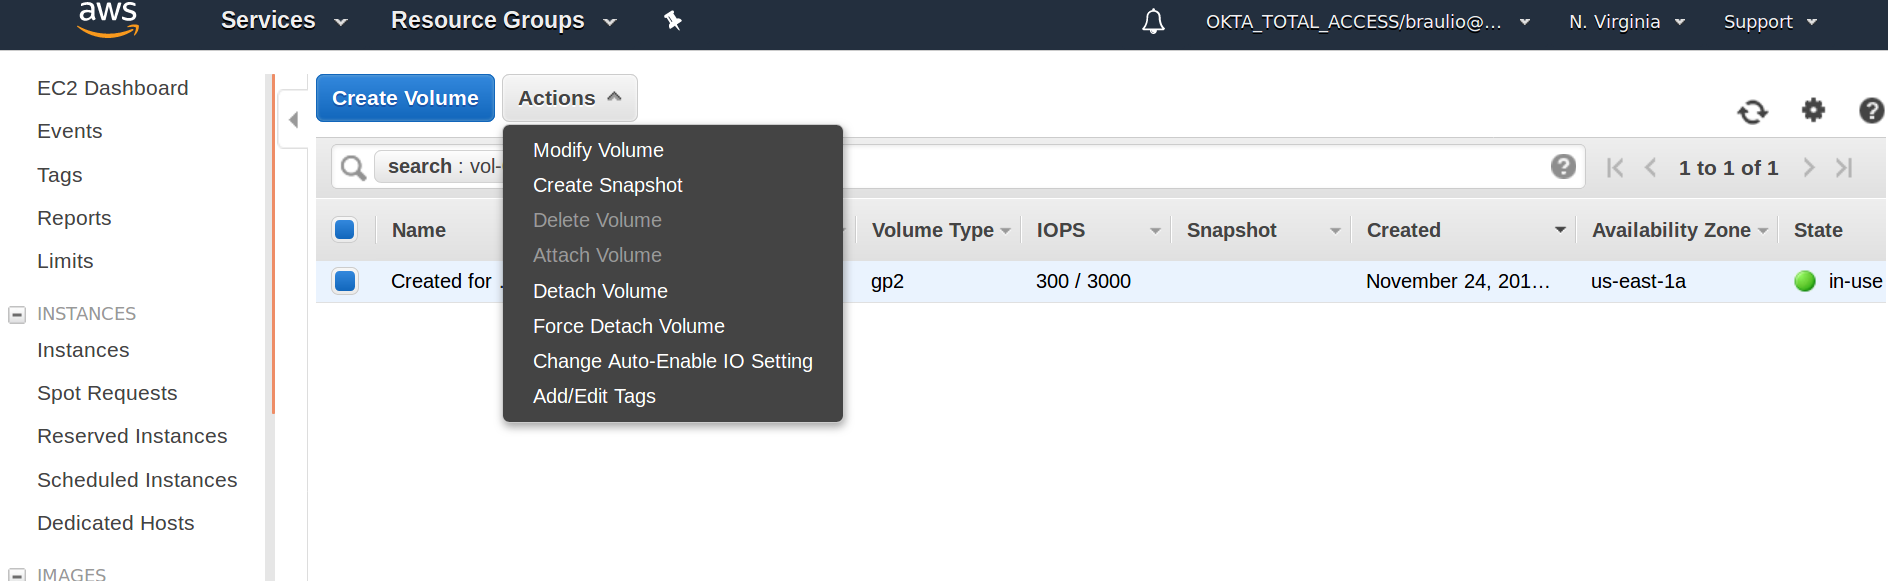
It will ask you for name and a short description.
After that, the creation of the snapshot will start.
Step 4.
Unblock writes on the database.
Launch this command to unlock the database that we used to create the snapshot
Use admin

db.fsyncUnlock()
Step 5.
Create new volume from the snapshot.
Go to the snapshot section, and select the snapshot that you just created.
Click on actions and select create a volume.
The following screen will appear.
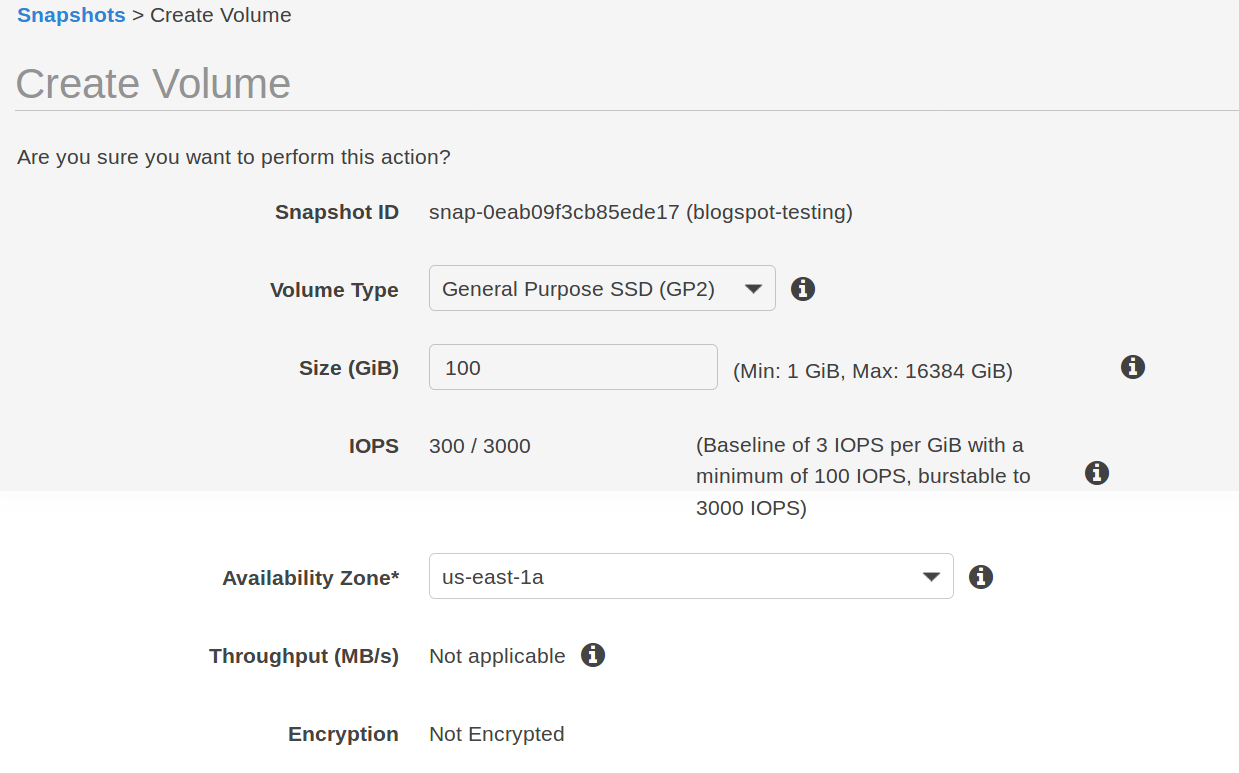
Select the availability zone, where the new replica set resides. If you don’t do this, you won’t be able to attach the volume to the instances.
Click on create.
Your volume will be created automatically.
Step 6.
Add the new volume to the master node in the new replica set.
Select the volume that you have created.
EC2 -> volumes -> search the volumes that you have created.
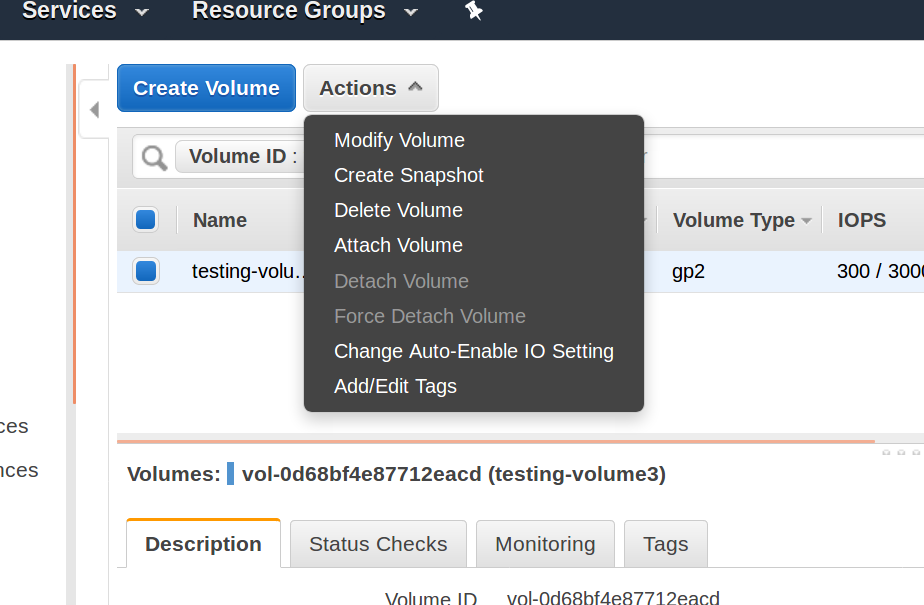
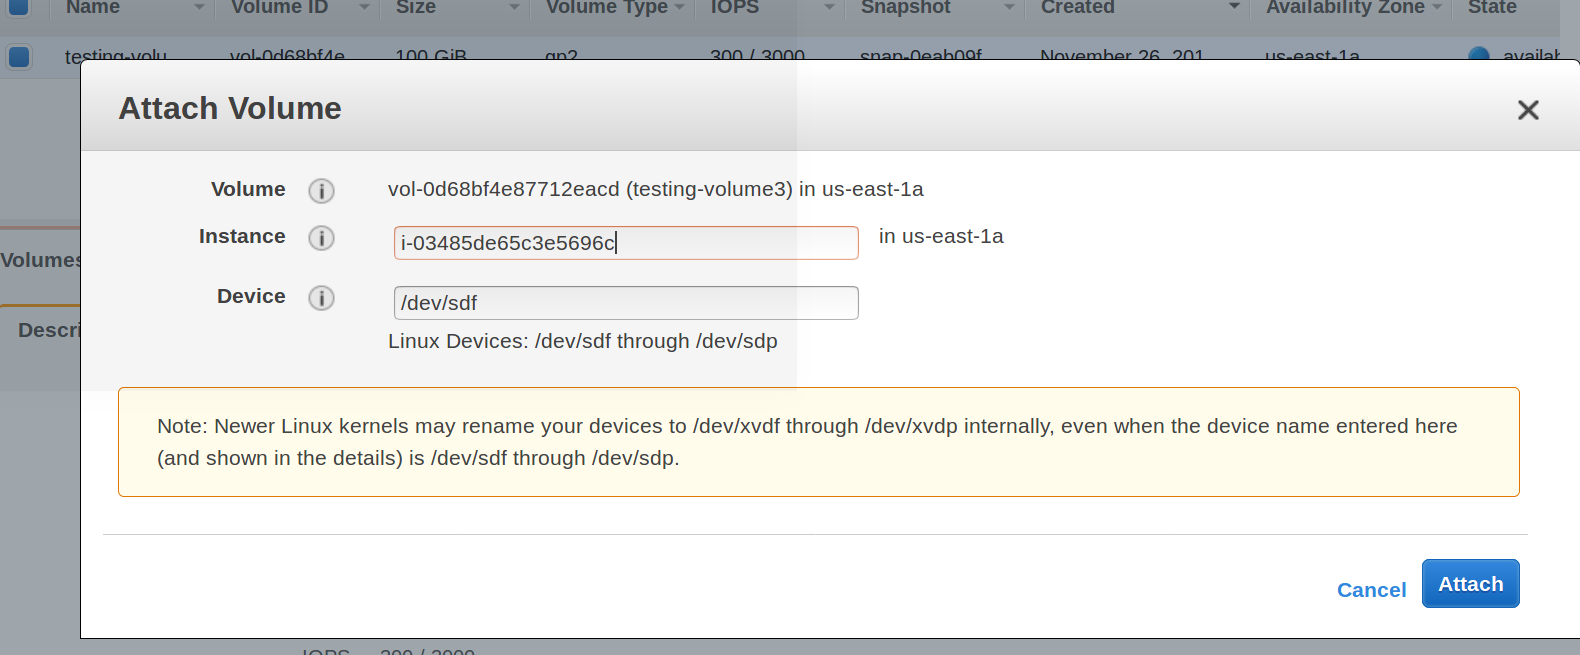
Select Attach Volume.
Add the instance that you want to attach the volume (a member of the new replica set).
Set the name of the device, and press attach.
Step 7.
Mount the volume on the instance.
Once you have mounted the volume physically, you have to mount it logically, so we are going to mount this device on /data directory.
Execute these commands.

As you can see, here is all the data from the database. We will have to delete all the data of the local database since in that database resides all the information from the old replica set. As we are configuring a new one, this database is not needed.
Remove the local database and the mongod.lock file

Once the local database is removed we are ready to set the new replica set.
Step 8.
Launch the replica set.
Use this command to run the replica set.
mongod --keyFile /etc/mongodb.key --bind_ip 0.0.0.0 --port 27017 --dbpath /data --logpath /var/log/mongo/mongod.log --config /etc/mongod.conf --replSet test --fork
Where.
- KeyFile: is a file that contains a string for security; a mongo instance can’t be part of the replica if it does not contain the keyfile.
- Bind_ip: the interface that the mongod process will use.
- Port: the port where the mongod process will listen.
- dbPath: the path where all the data files will be stored.
- Logpath: the path where the log will be output.
- Config: some default configurations for the db.
- replSet: the name of the replica set; all the members that want to be part of the replica set need to have the same name of replSet.
- Fork: run this process as a daemon.
Once the process is initiated, you can initiate the replica set.
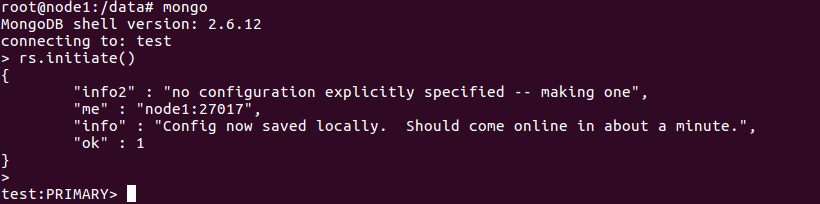
Step 9.
We are almost done, we just have to create a snapshot of the current mongo and create two volumes from that snapshot and attach those to the other two members of the replica.
We need to stop the mongod process.
use admin

db.adminCommand({shutdown : 1, force : true})

Now we have to take a snapshot of the /data volume and create two volumes from this snapshot, go to Step 3 and Step 5 and execute those steps, but make sure that the ec2 instance that you select is the new master node.
After you have created the volumes, you have to add them logically. Go through Step 6 and Step 7 for each node, but this time, don’t delete any data on the mount /data.
Step 10.
Launch the replica set.
Launch this command on the three nodes.
mongod --keyFile /etc/mongodb.key --bind_ip 0.0.0.0 --port 27017 --dbpath /data --logpath /var/log/mongo/mongod.log --config /etc/mongod.conf --replSet test --fork
Remember that we configured the master node already, so it will automatically come up with the configuration, and the other nodes are ready to join to the replica set.
To add the slaves use launch times this command from master, once for each slave.:
rs.add(‘dns_node:port`)
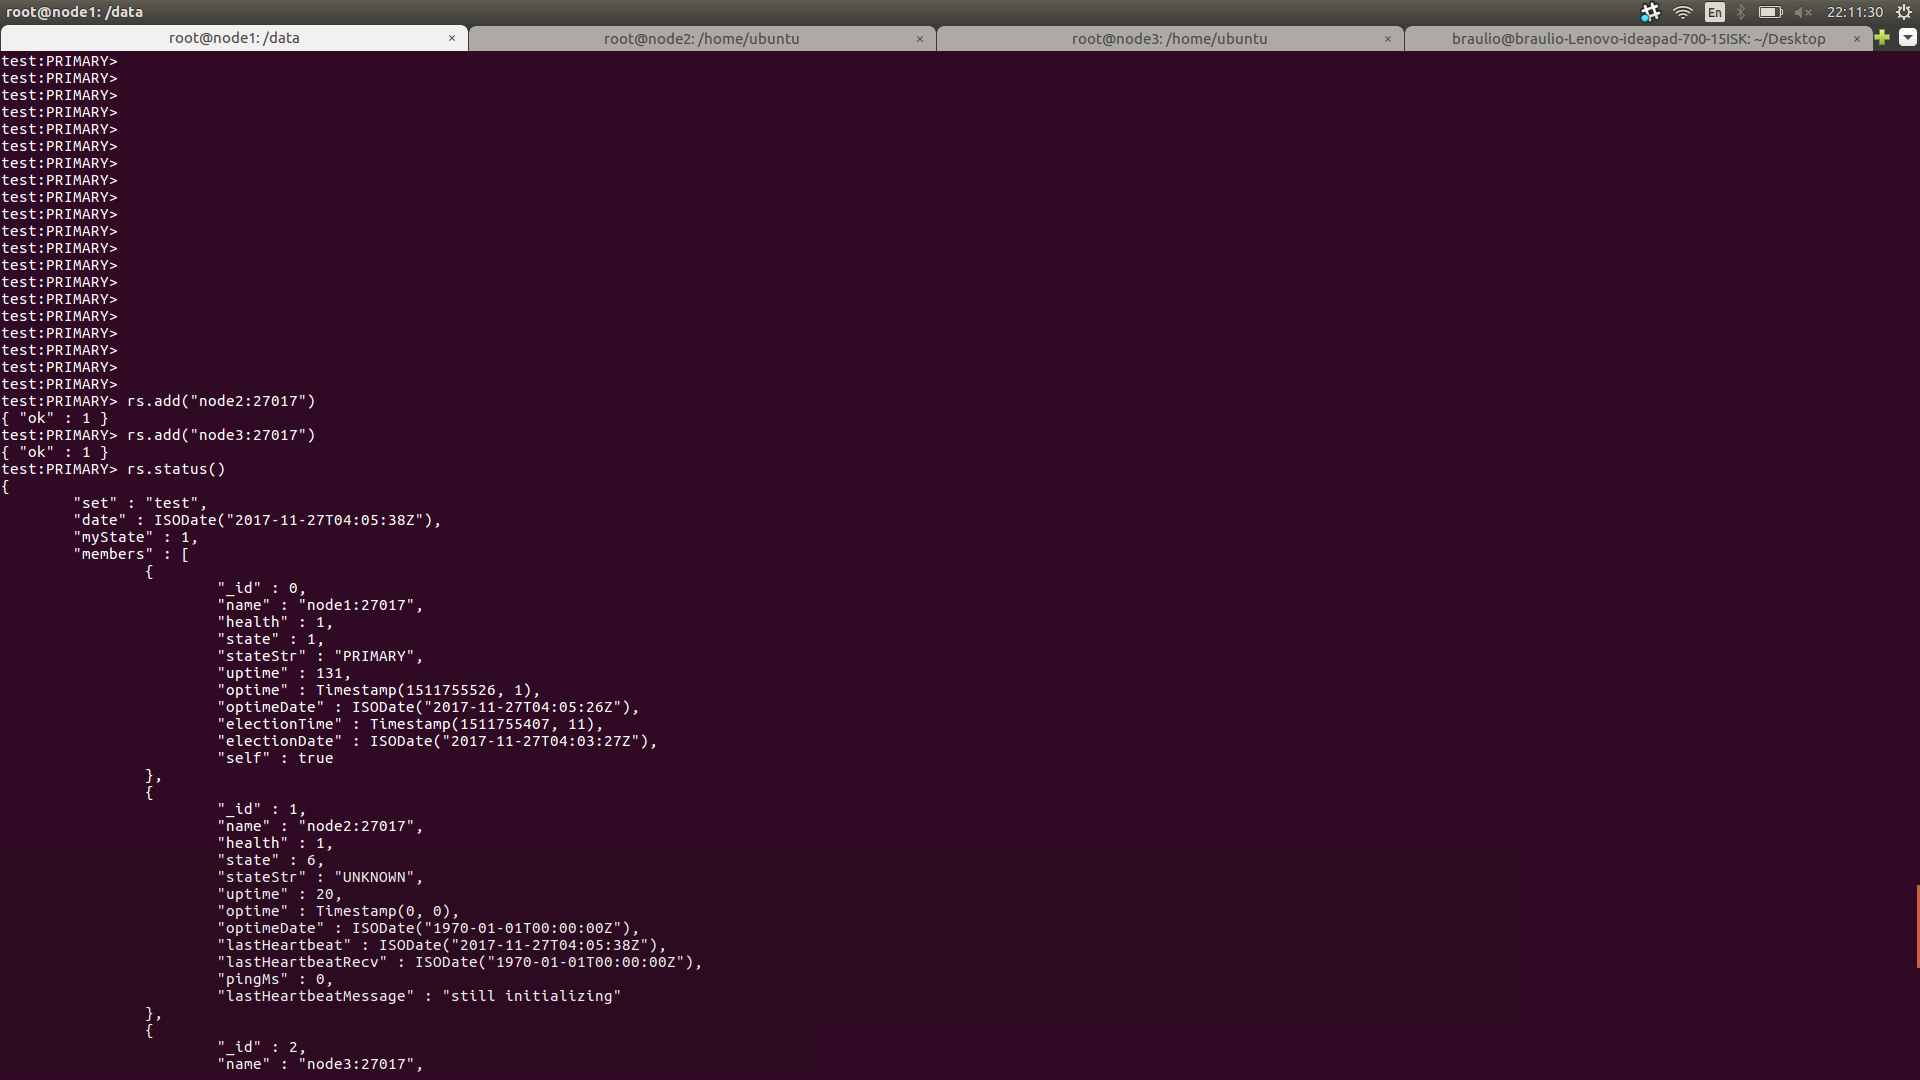
Before adding the slaves, you have to make sure that you can reach the nodes via DNS, so you will have to modify your `/etc/hosts` file in order to reach the nodes by a DNS.
Congratulations, you are done. You have migrated a MongoDB replica set. You can check all the collections of the database and it should be the same in both systems.
Reference links:
https://docs.mongodb.com/manual/replication/
https://aws.amazon.com/ebs/